Before operating the grinder, we recommend carefully reading through this manual to familiarize yourself with its features, functions, and maintenance procedures. By following the guidelines outlined here, you'll be able to unlock the full potential of your E65S grinder and enjoy delicious espresso beverages time and time again.
Before using for the first time
Functioning and basic settings
- The shot sizes, i.e. the volume of grounds per serving, are defined by the grinding time in the E65S grinder.
- The user can specify up to six different recipes (grinding times) and also has the option to control the grinding time manually (manual grinding).
- The grinding process is started automatically when the portafilter is inserted and either stops automatically after the defined grind time has elapsed or when the portafilter is removed (manual grinding).
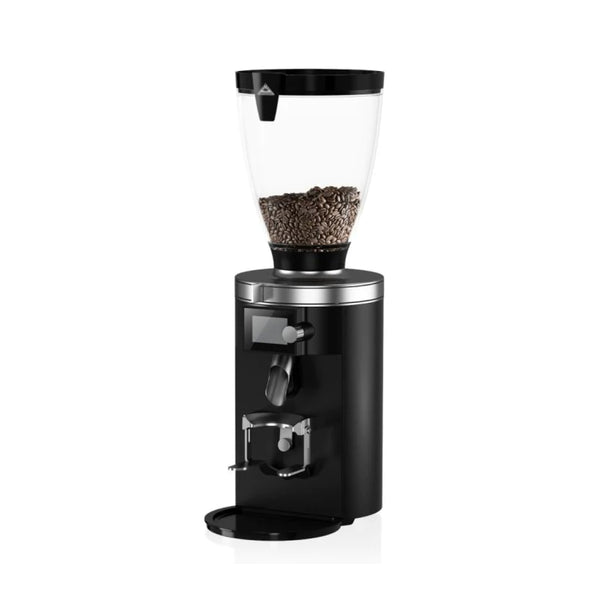
Setting up the grinder and inserting the bean container
- Place the grinder on a level and stable surface that does not vibrate.
- Ensure that the outlet (13) is pushed as far upwards as possible and engages securely in the outlet lock (see Fig. D).
- Make sure that the grinder is switched off (On/Off switch (5) to “0” position) and connect the grinder to the power supply by inserting the power plug into a properly installed earthed socket.
- Place the drip tray (9) into the corresponding casing recess below the outlet.
- Make sure that the rubber ring (18) has been properly inserted in the bean container intake (2) and is lying flat (see Fig. B).
- Position the bean container (1) on the bean container intake. When positioning the bean container intake, ensure that the nose of the bean container is located in the corresponding recess in the bean container intake.
- Push the bean container down slightly into the bean container intake and rotate the bean container clockwise to lock it in place on the grinder. If the bean container cannot be fixed in place by rotating it, it may not be positioned correctly. Align the bean container correctly (see step 6) and try again to fix it in place by rotating it (see also “Troubleshooting” sec on).
- Use a slot screwdriver to tighten the locking screw (19) for the bean container clockwise.